A projector is a mind-blowing breed of a technological piece of hardware that enables us to cast the data from our multimedia devices onto a larger surface area without having the need for a physical screen such as a LED or an LCD.
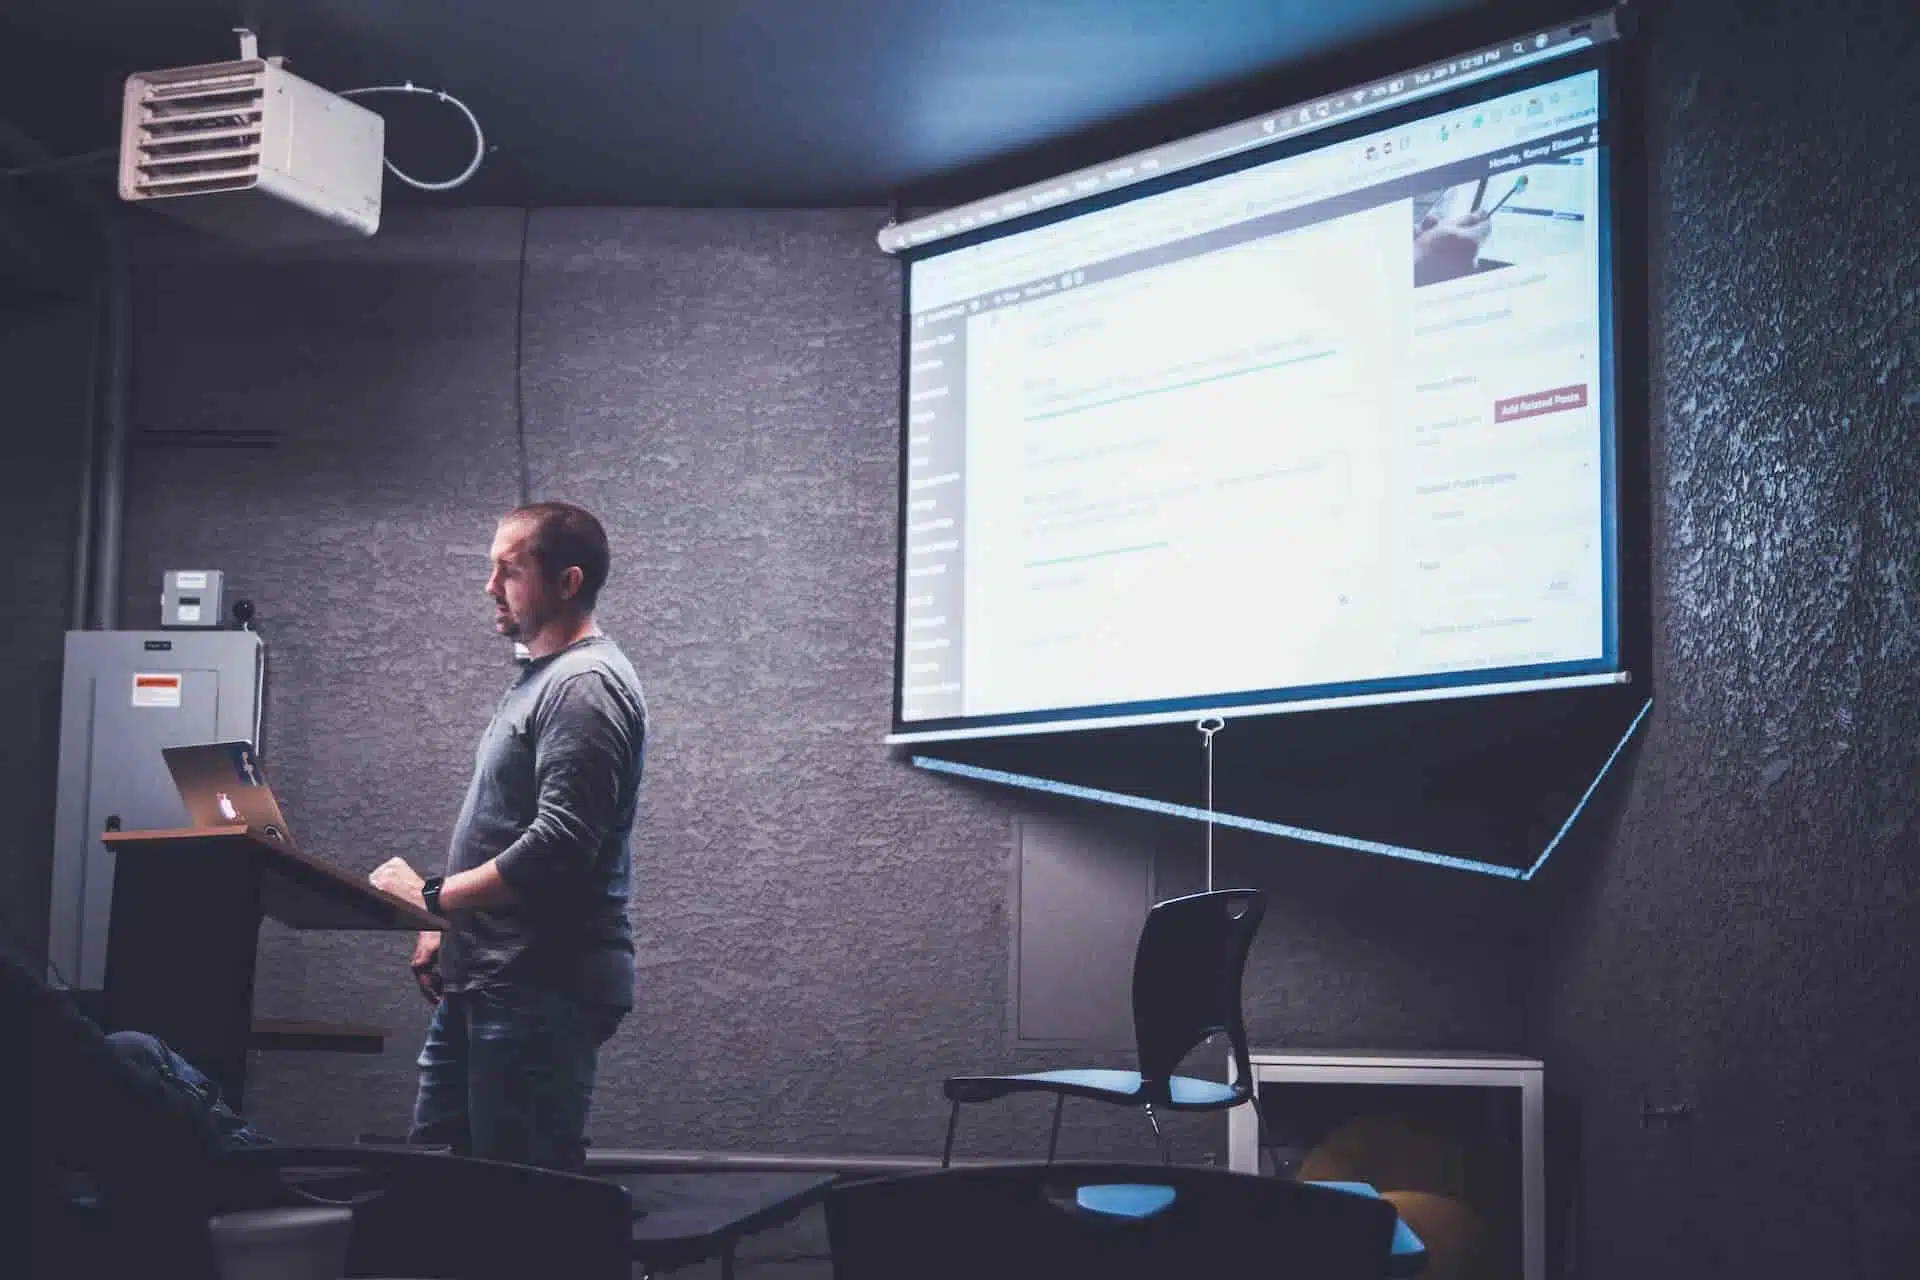
how do you display a laptop’s screen image through a connected projector? Let’s take Laptops, for instance, you could simply hook them onto a projector, which would instantly let you start your projection in a matter of minutes.
Although, establishing the connection is no doubt a tad bit tricky and may require resilient brainstorming especially if you don’t have the right set of tools or interfaces.
The situation becomes even worse if your projector or your laptop is somewhat outdated because software and hardware complicated due to compatibility issues is in itself a headache.
Nonetheless, no matter the situation, achieving such feats of how to display a laptop’s screen image through a connected projector isn’t impossible if you follow the steps mentioned by me carefully.
Henceforth, if you want to get things done, here are a couple of things you need to gather before we come up with the guidelines mentioned below.
Things You May Need
- A functioning laptop
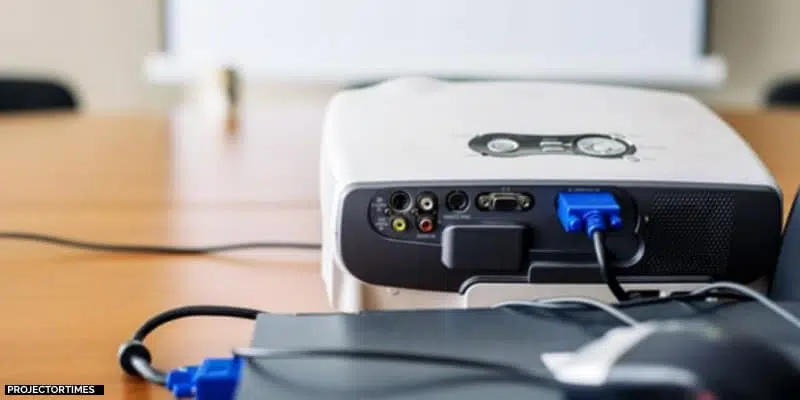
- Projector with at least VGA, HDMI, or DVI connection.
- HDMI/VGA/DVI Cable
- External Sound System
- Cable adapter (optional)
Steps On How Do You Display A Laptops Screen Image Through A Connected Projector.
Here are a couple of steps that will ensure a successful connection between your device and your projector.
Step # 1
First of all, ensure both your projector and your laptop have their software up to date because an outdated operating system is a hub of bugs and glitches and may obstruct or prevent connection establishment.
Step # 2
After you have made sure appropriate drivers have been installed onto your laptop and your projector is ready to be connected, it is time to invest in a decent branded media connection cable such as a DVI, HDMI, or VGA.
Step # 3
Keep in mind getting sort of cable interfaces must only be bought by diagnosing the back panel of your laptop and projector and forming a conclusion based on your connection capabilities.
However, if you have all three interfaces, choosing HDMI seems to be the highest quality standard interface you can wager on.
Step # 4
Now carefully plug in your media cable and make sure both ends are fixated onto their spot, otherwise, you won’t be able to form a connection if either of the ends is wonky.
And even if you do get a signal, chances are your cable connection has some form of power and quality loss resulting in lower resolution, so double-check and use generous force when plugging in your cable.
Step # 5
Chances are your projector won’t be having any external form of auditory sensation such as surround sound or stereo, or maybe it isn’t adequate enough to fill a large room.
In that case, connect your external speakers to your projector to compensate for auditory shortcomings.
Step # 6
Now both up both of your devices i.e Laptop and projector and let them recognize each other, as it may take a while to do so.
Keep in mind, you need to do configuration, so don’t panic if there isn’t any form of signal flow between them.
Step # 7
To configure your laptop, head over to the control panel and click on the display in which you can choose screen resolution.
Click on “Multiple Displays” and select “Duplicate these displays” which will be the appropriate option to cast your laptop display onto a projector.
Step # 8
Now you can open your images and videos which will be directed onto your projector that will be cast onto the surface area you want to display.
Enjoy!
Got The Wrong Media Cable? Here Is How You Can Troubleshoot The Issue.
If by any chance you have a media cable that won’t fit right through your devices such as your laptop or projector either because they differ in interfaces, you can use a cable converter adapter.
It is cheap, convenient, and the most efficient method to convert your cable interface, however, you might feel some sort of quality downscaling, especially if your adapter doesn’t belong to a decent brand.
Nonetheless, you will have your issue sorted out if you are dealing with unique devices such as a Macbook or a laptop with an older interface such as analog ones like VGA.
Bottom Line
Hopefully, you are all set and good to go and God Forbid you haven’t run into any sort of bugs or connection issues because I made sure to keep my guide about how you display a laptop’s screen image through a connected projector as simple and straightforward as possible so even if you are nowhere near being tech-savvy, you, my beloved reader, won’t have any issue replicating these methods.
That being said, thank you for visiting my site, enjoy and have an awesome day!
How The Content Was Created
The creation of the blog post “How Do You Display A Laptop’s Screen Image Through A Connected Projector” involved a meticulous and comprehensive process:
1. Defining the Topic
Our starting point was defining the topic. We selected this topic due to its relevance to a broad range of audiences, including educators, business professionals, and those using technology for personal or home entertainment. We intended to provide an easy-to-understand, practical guide that would make it straightforward for anyone to display their laptop screen on a projector.
2. Carrying Out Extensive Research
We conducted thorough research to ensure that our information was accurate and comprehensive. We examined different types of projectors, their connection methods, and the steps involved in displaying a laptop’s screen. The research also involved studying different operating systems, as the process varies slightly between them. Trusted technology websites, projector user manuals, and tech forums were among our primary resources during this phase.
3. Structuring the Content
With the research data at hand, we designed the blog post’s structure. We made sure it was logically organized and easy to follow. The content was divided into sections, including an introduction, a step-by-step guide for different operating systems, troubleshooting common issues, and wrapping up with a conclusion. We aimed to create a structure allowing readers to easily find the information they need.
4. Writing the Content
Our writing process was centered around making the information accessible, engaging, and easy to understand for our readers. We used clear language and broke down complex technical concepts into simple, actionable steps.
5. Utilizing AI Assistance
We used ChatGPT, an advanced AI language model developed by OpenAI, to enhance our writing process. It assisted us in writing the content faster and maintaining a consistent, reader-friendly tone. We provided it with our research findings and structural plan, which helped us craft the initial drafts of the sections.
6. Reviewing and Editing
Our final phase was a thorough review and editing of the content. We verified the accuracy of the information, checked grammar and syntax, and ensured the steps were logically ordered and clear. The aim was to produce a piece that was factually correct, well-written, and easy for readers to follow.
The entire process was designed to deliver a comprehensive guide that empowers our readers to effectively display their laptop’s screen through a connected projector, regardless of their technical know-how or the type of equipment they have.