Nintendo, the world’s most renowned gaming company for blessing us with their lovely, quirky, and unique games and handhelds.
From Smash Bros Ultimate to Zelda’s Breath of the Wild, there is no doubt that there are zero haters for the Nintendo Switch.
The reason behind the such lofty success is the fact that although it might look small, it packs a punch and is far better than its predecessor, Nintendo Wii U for various reasons.
Some of those reasons include design, portability as well as versatility which most probably almost every other gaming console lacks.
And since it’s winter, which means sales are going by, and pretty sure every gamer would want to get their hands on the super-nifty gaming handheld device known as Nintendo Switch.
And if you are one of those lucky ones who want to buy the Switch and want to connect it to a projector but do not know how, or if you own the Switch and want to use it for experimentation, then here is a treat for you.
In this article, I will carefully demonstrate, step by step, how to hook up Nintendo Switch to Projector.
But first here are some preliminaries on why a projector is better than a physical screen and following this guide is actually a good idea.
What is a Nintendo Switch?
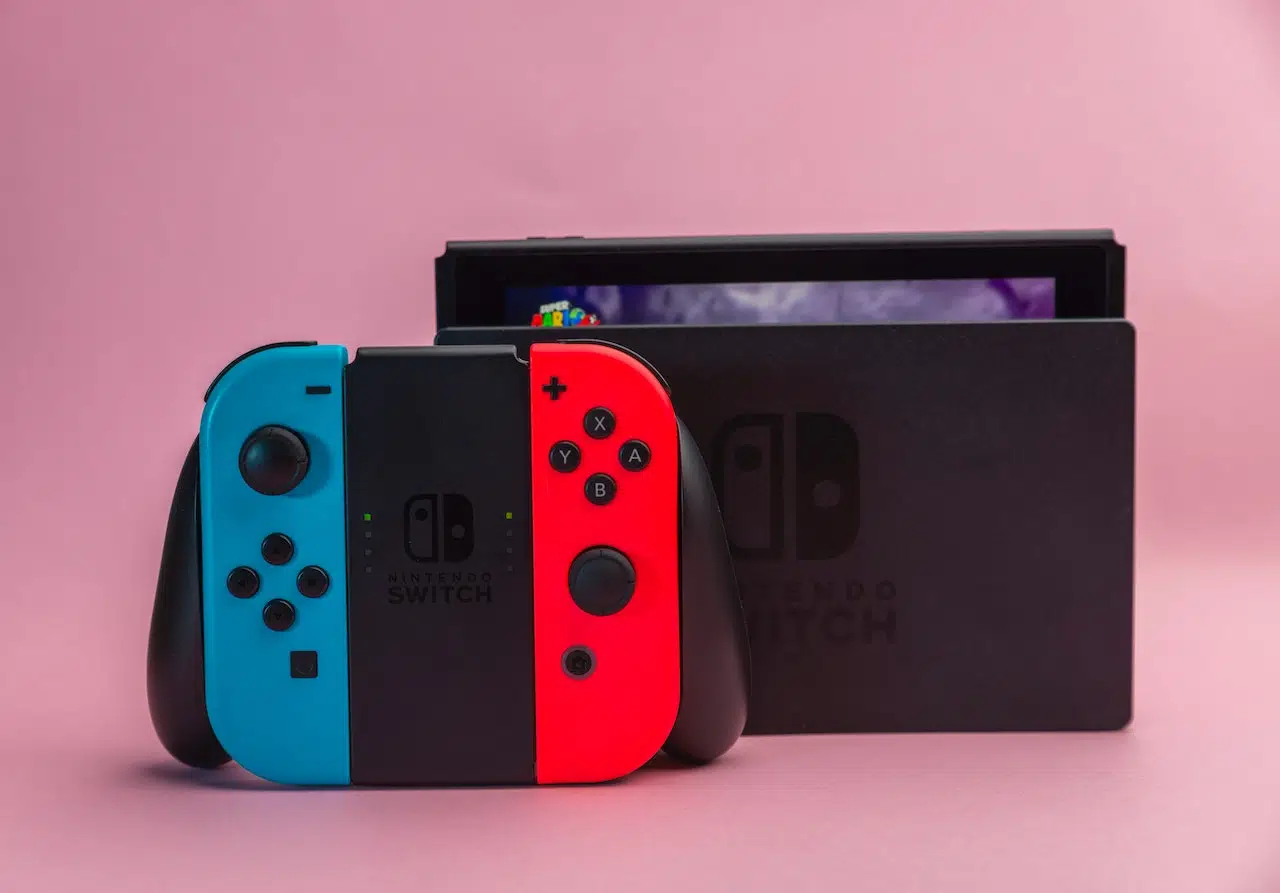
Before we get started, let’s first understand what a Nintendo Switch is. A Nintendo Switch is a video game console developed by Nintendo and was released on March 3, 2017. It is a hybrid console that can be used as both a home console and a handheld device.
The Nintendo Switch has two detachable Joy-Con controllers that can be used individually or attached to a grip to form a more traditional-style controller. The Switch uses a custom Tegra processor from Nvidia.
Parts of Nintendo
Now let’s take a look at the different parts of the Nintendo Switch console:
– The Console itself
– The TV Dock
– The Joy-Con (L) and Joy-Con (R) controllers
– The Joy-Con Grip
– The AC adapter
– The HDMI cable
Why Projector Is Better Than A Physical Screen
Although hooking up your Nintendo Switch might be a little complex process for you if you are not tech-savvy enough, I assure you that it is a far better alternative than going for a physical screen, here is why.
1: Portability
Unlike physical screens like LCD or LED, projectors can be taken almost anywhere, they are small and super compact, depending on the type and model you invest your money into.
Moreover, they can be almost set up anywhere, so you don’t have to worry too much about finding the right spot.
2: Massive Resolution Option
Physical displays might look sharp at first glance, but they are often limited to screen size, aspect ratio as well as resolutions.
Their image output can be stretched in order to give you a better view, which means you are pretty much restricted in that case.
3: Easy To Set Up
To install a Television or a monitor, you need to have some sort of clamp or stand for it to hold onto, but for a projector, the installation process is quite simple. All you need to do is find a decent place where ambient light isn’t too much and you are all set.
You can simply pop up a projector from your backpack and get ready for a meeting or school project in a matter of minutes without wasting any further time.
How To Hook Up Nintendo Switch To Projector
Now that you are familiar with the advantages a projector can reap, let’s gather some things before we proceed.
- HDMI Cable
- Nintendo Dock (Included in Nintendo Switch package)
- HDMI adapter (optional)
- A Nintendo Switch
- Projector with HDMI or VGA interface
Here are the steps,
Step 1:
First of all, turn on your Nintendo Switch and let the controllers or joy-cons of the Nintendo Switch be connected so you can use them wirelessly with ease.
Step 2:
Now use the Nintendo Dock that comes with Nintendo Package and connect it to the Nintendo Switch gaming handheld device through the Type C port, which will be labeled as an “AC Adapter”.
Step 3:
Now connect one end of the HDMI cable to the “HDMI out” port of the Nintendo Switch.
Step 4:
In order to complete the connection, take the remaining end of the HDMI cable and plug it into the back of your projector “HDMI IN” port.
Step 5:
Now turn on the projector and through the Remote Controller proceed to the configuration and choose the display settings.
Step 6:
Now select the Nintendo Switch as “HDMI 1”, so that your projector can recognize it and start its projection.
Step 7:
You are all set and good to go, enjoy playing your favorite games on the large screen.
What Should I Do If My Projector Doesn’t Have An Hdmi Interface?
Here is how you can troubleshoot the issue.
All you have to do is invest in an HDMI converter adapter and use it to connect to the HDMI cable connection coming from the Nintendo Dock. This will form a medium between the dock and the projector.
You now have the ability to extend your Nintendo Switch gameplay by connecting to a projector, even if it doesn’t have an appropriate interference like a DVI or VGA.
What Should I Do If I Don’t Have A Dock?
You know How To Hook Up Nintendo Switch To Projector with HDMI and Without HDMI but what if you don’t have a dock? The process is still the same, and you can follow the same steps. The only difference is that you need to use a different cable. For this, you need to use a USB Type-C to HDMI adapter.
Now you have learned 3 methods for 3 situations. Use the method that suits your situation. If you want me to write detailed guides on the other 2 methods please let me know in the comment below.
Tips and tricks for getting the most out of your Nintendo Switch projector setup
Getting Nintendo Switch to work with a projector is pretty easy but when it comes to getting the most out of the setup it can be tricky. Here are some tips and tricks to get the best gaming experience with your Switch projector setup:
– The first thing you need to do is find a projector that is compatible with the Switch. Not all projectors will work with the Switch so it’s important to check before you buy.
– Once you have a compatible projector, the next step is to set it up. This can be a bit tricky depending on the size and type of projector you have. If you’re not sure how to set it up, consult the user manual or the manufacturer’s website for instructions.
– Once you have your projector set up, the next step is to adjust the settings on your Switch. The Switch has a few different settings that can be adjusted to get the best image quality.
– One of the most important settings to adjust is the resolution. The Switch can output at up to 1080p, so if your projector is capable of displaying that resolution, be sure to set the switch to 1080p.
– Another important setting to adjust is the brightness. The Switch has a built-in brightness sensor that will automatically adjust the brightness of the screen based on the ambient light in the room. However, you can override this setting by adjusting the brightness manually.
– If you’re having trouble getting a good image from your projector, there are a few things you can try. First, make sure that the projector is properly focused. Second, try adjusting the distance between the projector and the Switch. The ideal distance will vary depending on the size of your projector and the size of your Switch.
By following these tips and tricks, you should be able to get the best possible gaming experience with your Nintendo Switch projector set up in no time!
FAQs
Before we finish up let’s take a look at some questions.
Q: Is there a difference between projecting from a Nintendo Switch and other gaming consoles?
A: No, the process is relatively the same for all gaming consoles. The only real difference would be the settings that need to be adjusted on the Switch itself since it is a portable console.
Q: How do I know if my projector is compatible with my Nintendo Switch?
A: The best way to find out is by checking the user manual that came with your projector. It should have a list of compatible devices and input types. If you can’t find your manual, you can also check the manufacturer’s website.
Q: What if the Nintendo Switch is not compatible with my projector?
A: If your projector is not compatible with the Switch, you can still connect the two devices by using an adapter.
Final Verdict
Hooking your Nintendo Switch will enhance its capabilities to become even more versatile than before so that you can use it almost everywhere on a larger screen without having to look for special Television screens that support the handheld gaming device.
By reading this well-researched article, you will now know how to hook up a Nintendo switch to a projector with ease and I hope it is well worth your time.
Feel free to comment below if you still face any issues, I will be happy to serve you.
How The Content Was Created
Creating our blog “How To Hook Up Nintendo Switch To Projector” required careful planning, thorough research, and a blend of expertise in tech and writing. Here’s how we did it:
1. Choosing the Topic
The topic for this blog post was chosen because of the rising popularity of the Nintendo Switch and the practical challenge many users face when connecting their consoles to projectors. It was an issue worth addressing, which could also provide our readers with a valuable guide.
2. Researching the Topic
Our research was conducted in multiple stages. First, we explored technical specifications and user manuals for the Nintendo Switch and various projectors. This helped us understand the intricacies of each device and the compatibility requirements. We also studied online forums, video tutorials, and user experiences to identify common problems encountered during setup and effective solutions.
3. Planning the Content
With our research complete, we began to plan out our content. We aimed to create a step-by-step guide that was easy to follow, even for individuals with extensive technical knowledge. We decided to include tips on troubleshooting common issues and additional advice on enhancing the gaming experience on a projector.
4. Writing the Content
Armed with our research and content outline, we began the writing process. Our goal was to create engaging, simple, and accurate content. We ensured that each step was explained clearly, with technical jargon kept to a minimum. To ensure our guide was as comprehensive as possible, we also included tips and best practices for setting up and using a Nintendo Switch with a projector.
5. Using AI to Assist
We employed ChatGPT, an AI language model developed by OpenAI, to optimize the writing process. We provided it with our detailed research and allowed it to assist us in generating the content. We meticulously reviewed the AI-generated content to ensure the highest accuracy and edited it for clarity, coherence, and correctness.
6. Final Review and Editing
The final step in creating our content was a thorough review process. We double-checked the accuracy of our guide, scrutinized the grammar and punctuation, and reviewed the flow of information. We ensured the content was easy to understand, engaging, and accurate to provide a valuable guide for connecting a Nintendo Switch to a projector.
By following this process, we created a comprehensive, easy-to-follow guide that provides practical solutions and aids in enhancing our readers’ gaming experiences.