Are you looking for a way how to run power to ceiling mounted projector, then this guide is perfect for you. We’ll show you how easy it is to install and wire a ceiling mount projector with our step-by-step instructions. You’ll be able to get everything up and running in no time!
Once installed, your new ceiling projector will look great on the wall or from above. It will also provide an excellent viewing experience for all of your guests. Plus, we have included helpful tips along the way that can help make projector installation even easier!
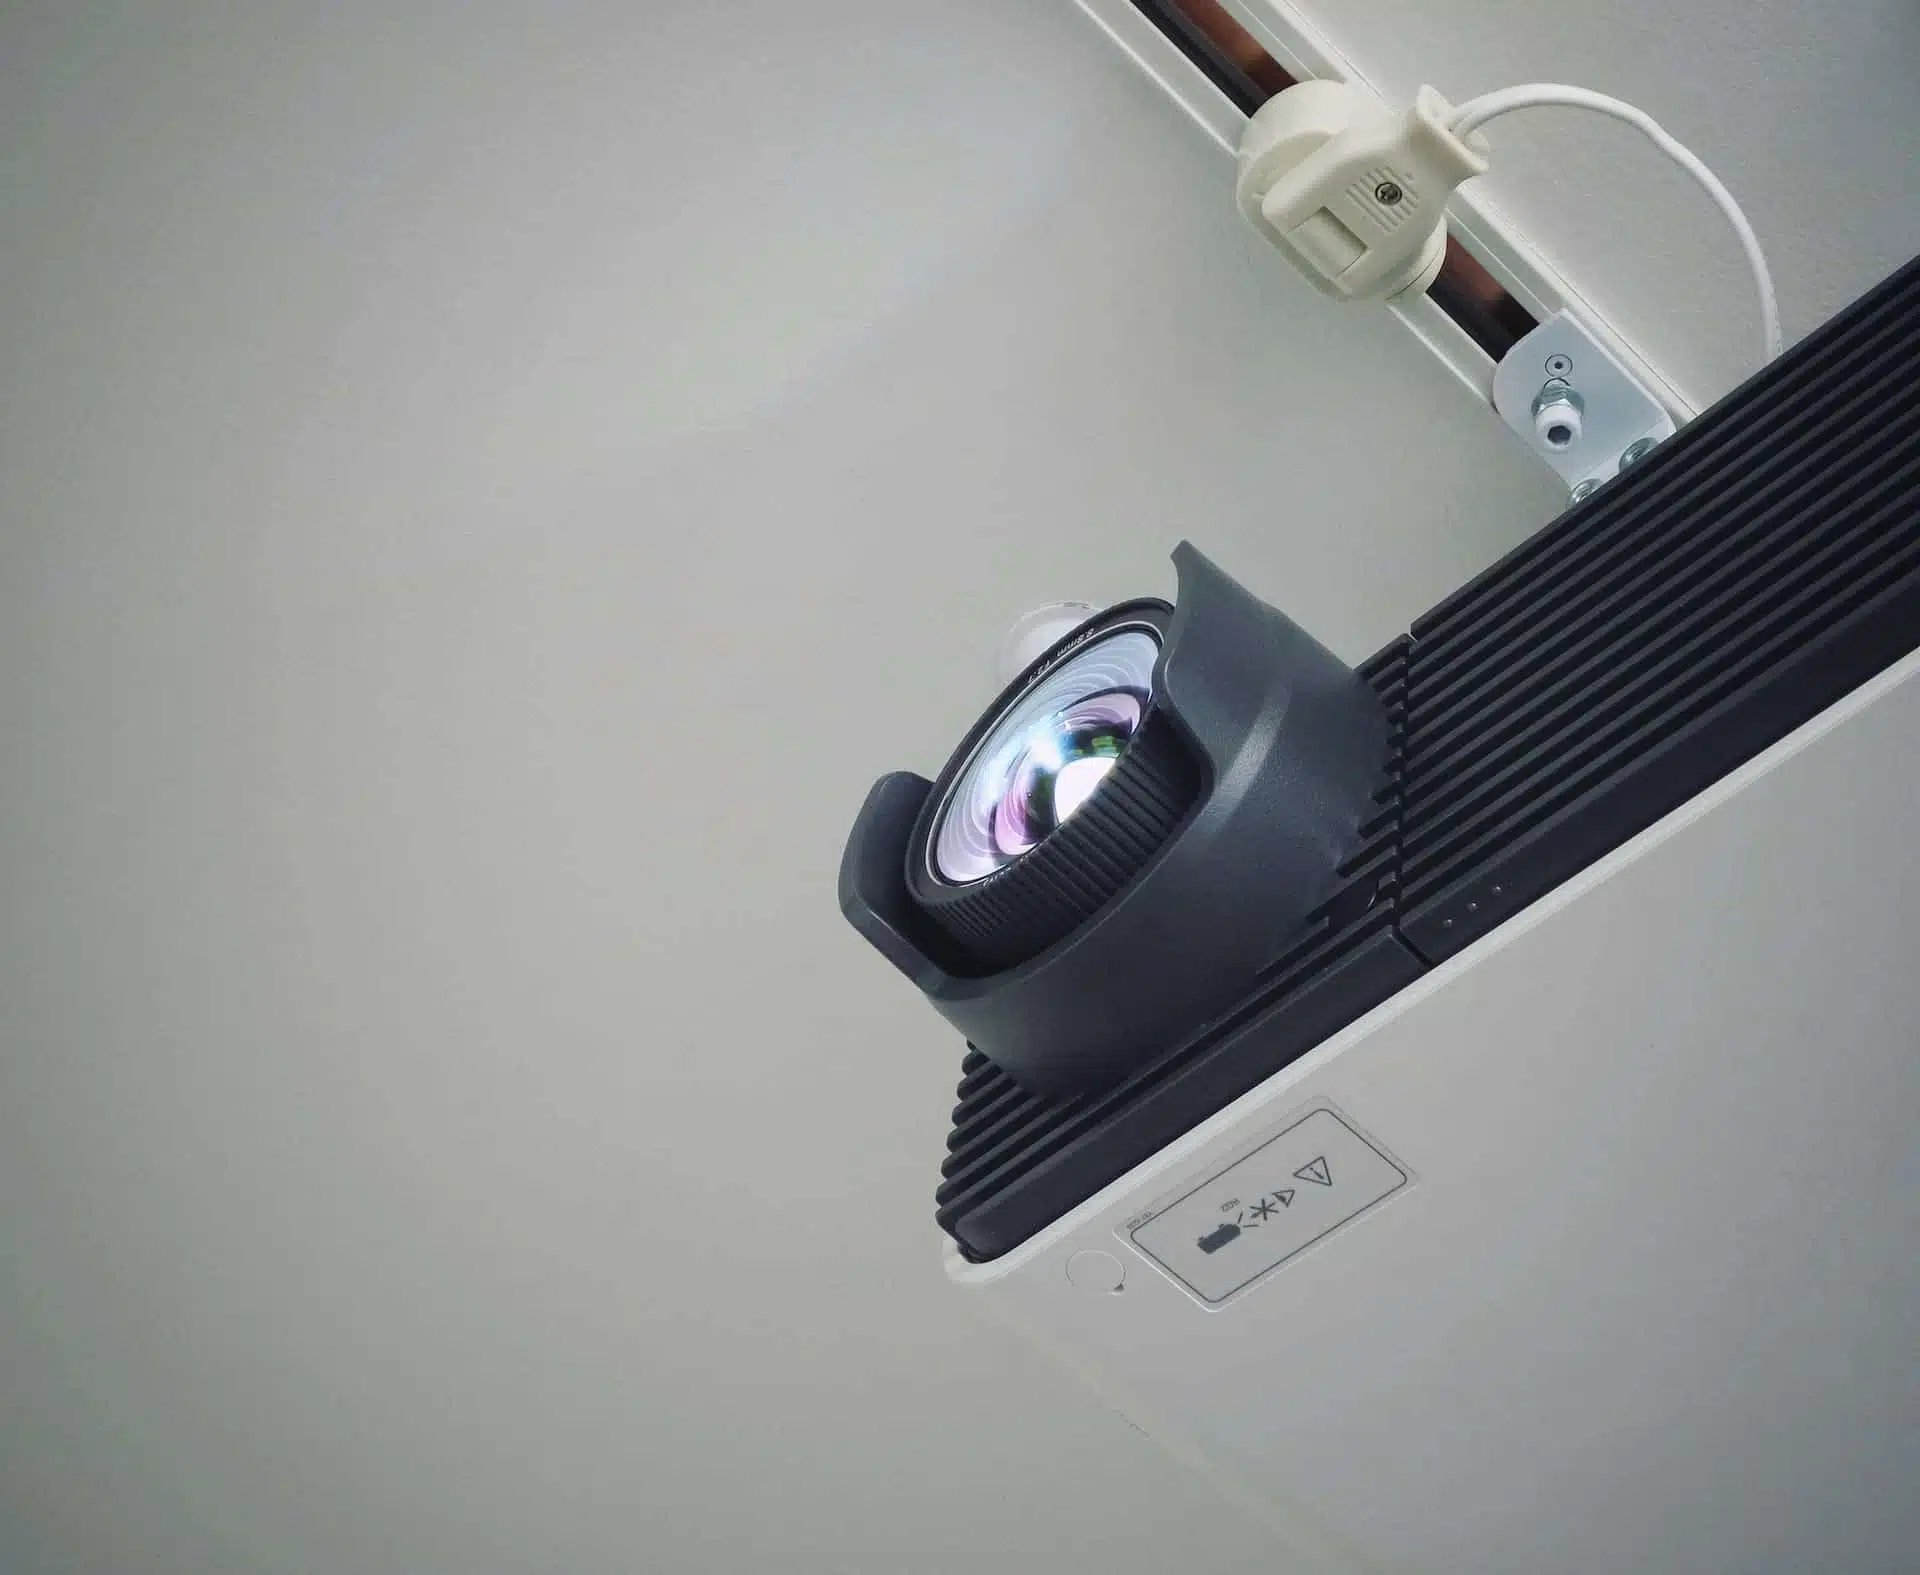
Mount The Projector On The Ceiling
First, you need to mount the projector on the ceiling. This is a quick and easy process that just requires a few screws and some brackets. Once the projector is mounted, you can run the power and video cables down to where they need to go.
How To Run Power To Ceiling Mounted Projector
Now that the projector is up and running, you’ll need to run the power cable to it. If you’re running the cable through walls, this will be difficult, but if you’re running it through the ceiling it’s a lot easier to hide power cables.
There are two solutions to this, the first one is for those who have attic space, while the other option is for those who don’t. If a homeowner finds they do have excess attic space, it’s important to take advantage of it by putting the power cables up there. The other option is for those without an attic, but it will take a lot of planning and work.
Method 1: Using an Attic
If you have attic space, it’s a good place to run your power cables through it. The attic is a great place to hide things because it’s out of the way and most people don’t need to look there. You’ll need to purchase an attic ladder if you don’t currently have one, and then follow these steps:
- Drill a hole in the ceiling near the projector and run the power cable through it.
- Attach the ladder to the attic and make sure it’s stable.
- Climb up into the attic and run the power cables to where you need them.
- Plugin the cable into the power outlet in the attic (if you don’t have one, you’ll need to install one).
- Drill a hole in the ceiling near where you want the projector and run the video cable through it.
- Patch up all of the holes that you drilled with caulk or spackle.
- Enjoy your new, professionally mounted projector!
Method 2: Without an Attic
If you don’t have attic space, you’ll need to find another way to hide your power cables. One option is to run them through the walls, but this can be difficult and time-consuming. The best option is to run them through the floor. Have a well-thought-out plan for how to route that cable from the projector. Here are the steps to run power to a ceiling-mounted projector without an attic:
- Decide where you want the projector to be mounted on the ceiling.
- It should go up the ceiling and down the wall into an outlet near where you’ll be using it most often.
- Purchase a long power extension cord and run it from the projector to where you want the outlet to be.
- You’ll want to make sure you know exactly where those studs, joists, and outlets are first, so use a stud finder to get started on your map.
- Once you have mapped the area where there are no studs or joists, you can reduce the risk of fishing the cable through them by drilling only where they aren’t located.
- Turn off the electric breakers to be extra cautious in the next stages.
- Drill holes in both the places near the outlet and in the ceiling.
- It’s worth every penny to use the brush plates to cover up the holes.
- Insert the cable through the ceiling hole and fish it until you can pull it out from the outlet opening.
- And finally, plug it into the power outlet and turn on your projector. Have fun 🙂
Tips To Run Power To Ceiling Mounted Projector
Here are some tips to run power to ceiling mounter projector:
- Make sure you have a stable ladder before attempting to mount the projector on the ceiling.
- Make sure you map out the area where you’ll be drilling for the cables before starting.
- Always use a stud finder to avoid hitting any wires or plumbing.
- If you have an attic make sure to find a ceiling joist before drilling.
- Use a brush plate to cover up the holes after installation is complete.
- If you don’t have an attic, run the power cables through the floor.
- Make sure to purchase a long power extension cord and extension cable if needed.
- If you’re running the cables through walls, use a drill with a spade bit to make the hole.
- Avoid drilling around the wall cavity.
- If you have an attic, use it to hide your power cables.
- Always use caution when working with electricity and turn off the breakers when necessary.
FAQs
Before you leave our site, we wanted to answer some common questions about installing a ceiling-mounted projector.
Q: What is the best way to route power cables through the ceiling?
A: The best way to route power cables through the ceiling is by running them through the attic if you have them. Because this way your cables will be hidden and won’t bother you and your family and friends.
Q: Can I run my projector’s power cable through the wall?
A: Yes, you can run your projector’s power cable through the wall, but it can be difficult and time-consuming to do correctly. You’ll need to drill holes in the wall, run the cables through them, and then patch up the holes when you’re finished. This approach also requires that you know where the outlets and studs are on your wall.
Q: What is the best way to hide power cables?
A: The best way to hide power cables is by running them through the attic. You can also use a brush plate to cover up the holes after installation is complete.
Q: What Type of Cable Should I Run for My Projector?
A: The type of cable that you should use depends on what kind of projector you want to install. For example, if you want to connect a laptop to your projector, you’ll probably want to use an Ethernet cable. However, if you want to hook up a DVD player, you might want to use a coaxial cable.
Q: How do you run cables from a ceiling-mounted projector?
A: To run cables from a ceiling-mounted projector, you will need to drill a hole in the ceiling and fish the cable through until you can pull it out from the opening near the outlet. You may also need to use an attic to hide your power cables.
Q: How do you add an outlet to a ceiling for a projector?
A: To add an outlet to a ceiling for a projector, you will need to drill a hole in the ceiling and fish the cable through until you can pull it out from the opening near the outlet. You may also need to use an attic to hide your power cables.
Conclusion
Now that you know how to run power to a ceiling-mounted projector, you can feel confident in your ability to complete the installation yourself. Be sure to read through all of the instructions carefully and use caution when working with electricity. If you have any questions, don’t hesitate to ask in the comments section or contact us via the contact us page.